|
|
|
|
|
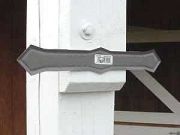
Step 5: To hold the downspout in place, you will need straps or brackets. These can either be to the outside |
|
|
Step 6: Alternatively, the brackets can be on the inside. |
|
|
Step 7: The brackets are flexible and need to be bent to match the gutter size. |
|
|
Step 8: In this project, we are using outside straps as the gutters are oversized and the column is not wide enough for conventional use. |
|
|
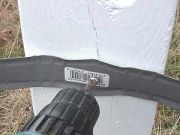
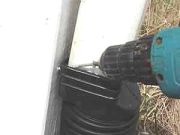
Step 9: The strap is secured to the post using a pan head screw. |
|
|
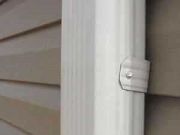
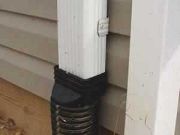
Step 10: On attaching to the vinyl siding, brackets are used. |
|
|
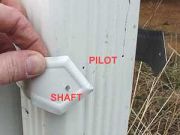
Step 11: Two holes are required in the strap and the downspout. Drill a larger (shaft) hole in the strap and a smaller pilot hole in the downspout. |
|
|
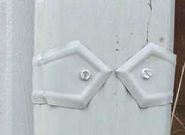
Step 12: Attached the strap using self-taping painted screws. |
|
|
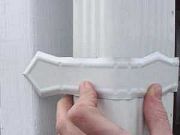
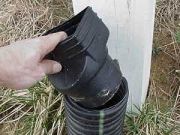
Step 13: A plastic coupler is added to the drainpipe. |
|
|
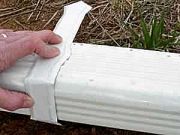
Step 14: This is where the water is spread over the lower story roof, drainpipe into ground or onto a splash block on the ground |
|
|
|
|
|
|
|
|
|
Related articles
|
||||