Downspout Installation or Replacement |
|
Your gutters are only as good as the downspouts which carry the rainwater down from the collection gutter to the next story down. Whether it's new a downspout or a replacement, read on to learn how to mount these and keep them in place. |
 |
|
Items needed:
Screw driver
Drill Drill bits Step or extension ladder |
Safety Suggestions and Tips
Caution using ladder
Edges of downspout can be sharp Do not use pop rivets, otherwise you can't remove it for painting |
Level of difficulty
 Time Required: 4 hour
|
|
|
|
Steps |
|
|
|
|
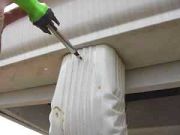
Step 1: The first step is to examine the existing gutter. If you are replacing a worn or broken downspout, remove the screw at the connection with the gutter. |
|
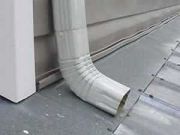
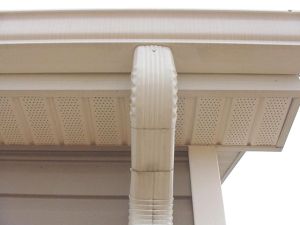
Step 2: The replacement downspout will probably need two elbows. Between the elbows, a short length of downspout may also be required, depending on the distance of the roof overhang. These can be attached using small white-headed self-taping screws designed specifically for gutter applications. |
|
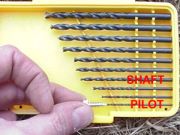
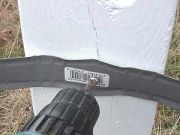
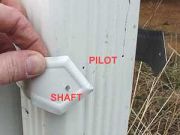
Step 3: Be sure to select a screw the size of the pilot shaft of the screw. |
|
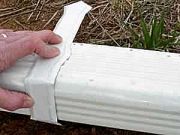
Step 4: On the outlet end of the downspout, you may also need another elbow. |
|
|
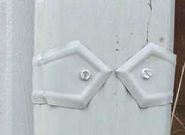
Step 5: To hold the downspout in place, you will need straps or brackets. These can either be to the outside |
|
|
Step 6: Alternatively, the brackets can be on the inside. |
|
|
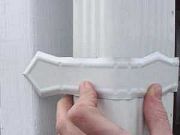
Step 7: The brackets are flexible and need to be bent to match the gutter size. |
|
|
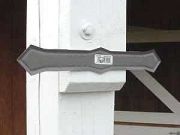
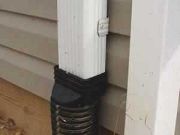
Step 8: In this project, we are using outside straps as the gutters are oversized and the column is not wide enough for conventional use. |
|
|
Step 9: The strap is secured to the post using a pan head screw. |
|
|
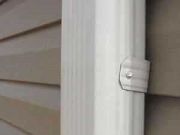
Step 10: On attaching to the vinyl siding, brackets are used. |
|
|
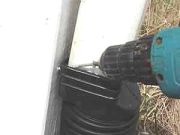
Step 11: Two holes are required in the strap and the downspout. Drill a larger (shaft) hole in the strap and a smaller pilot hole in the downspout. |
|
|
Step 12: Attached the strap using self-taping painted screws. |
|
|
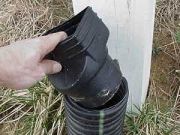
Step 13: A plastic coupler is added to the drainpipe. |
|
|
Step 14: This is where the water is spread over the lower story roof, drainpipe into ground or onto a splash block on the ground |
|
|