|
|
|
Tile Grout Repair |
|
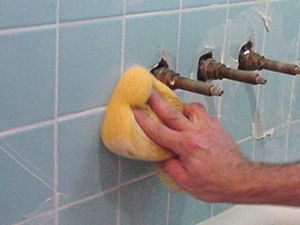
Most tile surfaces have grout between the tiles. Grout that is not cared for deteriorates over time and looks awful. Fortunately, it is pretty easy to fix. These directions pertain mainly to fixing small patches of grout. However, it is possible to remove all of the grout in a tub surround, for instance, and re-grout it. |
 |
|
Items needed:
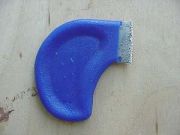
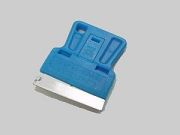
Grout Saw
Sponge Pre-mixed grout Utility knife (depends on conditions) Grout sealer (good idea) Small brush |
Safety Suggestions and Tips
Do not let grout haze completely harden
Apply sealer to maintain grout |
Level of difficulty
 Time Required: 2 hour
|
|
|
|
Steps |
|
|
|
|
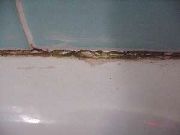
Step 1: Identify the grout lines that need to be repaired. Sometimes they will look crumbly, other times the grout will become permanently stained. |
|
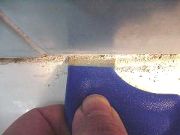
Step 2: Start with one of the grout lines and use the grout saw to grind out and remove the old grout. |
|
Step 3: Use a sawing motion, drawing the saw towards you first. Be careful not to scratch the tile and stay in the grove. Grind out the grout to remove all of the stained layer. |
|
Step 4: If the grout lines are too tight for the grout saw, use a scraper or utility knife (Be careful not to cut yourself). |
|
|
|
|
|
|
|
Related articles
|
||||