|
|
|
Erosion Control after Driveway Installation |
|
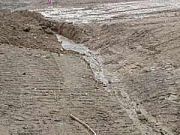
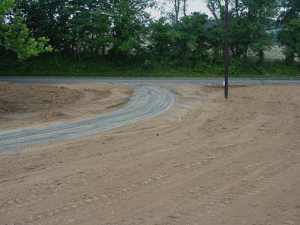
You've just put in a new driveway and now it's time to get the grass growing and fast before there is any serious erosion. Grading and excavation leaves the soil bare and if unprotected will wash away in the next heavy rain storm. Learn how to keep the soil in place and give your seeds a good start in this article. |
 |
|
Items needed:
Grass seed
Shovel Rake Erosion blanket or mat Hay or straw |
Safety Suggestions and Tips
Avoid spreading seed on windy days
Pray for a gentle rain Obtain any necessary grading permits Comply with local regulations on silt control Unroll large round hay bales carefully or they can take off down the hill |
Level of difficulty
 Time Required: 8 hour
|
|
|
|
Steps |
|
|
|
|
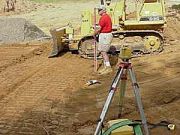
Step 1: The first step is be sure that your road contractor has properly graded for drainage. You may have installed a culvert near the main road access. This must be properly graded to ensure adequate drainage. |
|
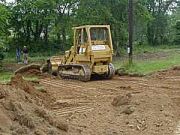
Step 2: A good contractor will carefully remove the existing top soil, perform the cuts and than replace the topsoil layer. |
|
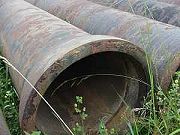
Step 3: Drainage culverts will prevent your new driveway from washing out. The culverts can be ductile iron or corrugated metal. |
|
Step 4: You'll need to dig the trench and lay the pipe. This is usually backfilled with stone. It's a lot of work and best contracted as part of the driveway installation. |
|
|
|
|
|
|
|
Related articles
|
||||