Erosion Control after Driveway Installation |
|
You've just put in a new driveway and now it's time to get the grass growing and fast before there is any serious erosion. Grading and excavation leaves the soil bare and if unprotected will wash away in the next heavy rain storm. Learn how to keep the soil in place and give your seeds a good start in this article. |
 |
|
Items needed:
Grass seed
Shovel Rake Erosion blanket or mat Hay or straw |
Safety Suggestions and Tips
Avoid spreading seed on windy days
Pray for a gentle rain Obtain any necessary grading permits Comply with local regulations on silt control Unroll large round hay bales carefully or they can take off down the hill |
Level of difficulty
 Time Required: 8 hour
|
|
|
|
Steps |
|
|
|
|
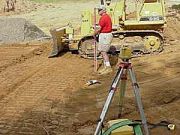
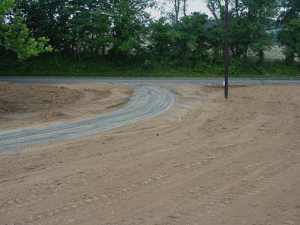
Step 1: The first step is be sure that your road contractor has properly graded for drainage. You may have installed a culvert near the main road access. This must be properly graded to ensure adequate drainage. |
|
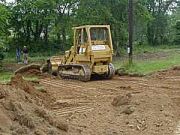
Step 2: A good contractor will carefully remove the existing top soil, perform the cuts and than replace the topsoil layer. |
|
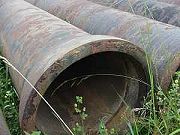
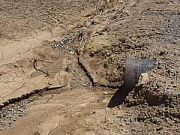
Step 3: Drainage culverts will prevent your new driveway from washing out. The culverts can be ductile iron or corrugated metal. |
|
Step 4: You'll need to dig the trench and lay the pipe. This is usually backfilled with stone. It's a lot of work and best contracted as part of the driveway installation. |
|
Step 5: There are many type of grass seeds available. For a large application, a contractor's grade is most economical (about $50/100 lbs). You can spread the seed using a drop spreader, hand spreader of simply scatter by hand. The more uniformly the seed is spread, the more cost effective the job. Application rates vary from 60 to 240 lbs/acre. This would also be a good time to fertilize or lime the soil, but don't delay and keep your eyes on those clouds. |
|
Step 6: Covering the seed with hay, straw or matting will both enhance the grass growth, provide moisture, keep the seed in place and slow down erosion. The drainage ditches often need extra measure of protection, such as matting or temporary silt traps. |
|
|
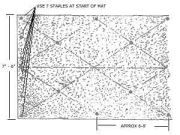
Step 7: The matting or blanket is available in rolls about 4 to 8 feet wide and 50 feet or longer. They are made of wood fibers and plastic mesh and are 100% biodegradable. This is generally used on 3:1 - 2:1 slope and where the water velocity is less than 5 feet per second. |
|
|
Step 8: This is stapled every 6 feet using a diagonal pattern using metal staples (about 1" x 6" which come with blanket). |
|
|
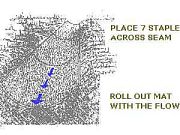
Step 9: In the ditch, use seven staples at each seem. Simply push the staples in by hand and step down with your foot. Use a mallet if the ground is hard. |
|
|
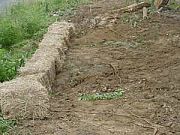
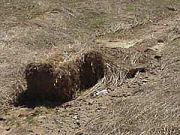
Step 10: Hay bales are secured by driving wooden stakes through the bale. The bales will slow the erosion, but after the first rain may need to be redone. |
|
|
Step 11: Even the best silt trap will fill up quickly and wash out. Plan to check on them frequently and reconstruct after a heavy rain. They are only needed until the grass take hold. |
|
|
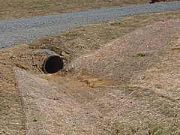
Step 12: The matting does a much better job at preventing erosion, especially near culverts. |
|
|
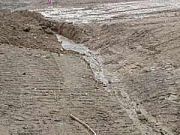
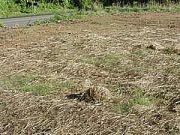
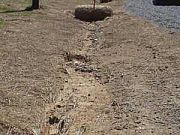
Step 13: Without the blanket, the soil erodes easily. |
|
|
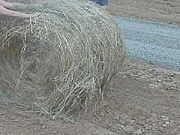
Step 14: For large flat areas, cover the ground with hay or straw. Hay can be spread from square bales or from a large roll. |
|
|
Step 15: Simply break apart the bale and shake it around. The round bales can be unrolled down the swale and then spread by hand. |
|
|
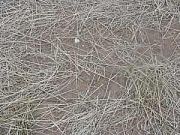
Step 16: The hay should allow sufficient coverage of the ground and seed, but not too thick to prevent the grass from growing through the cover. |
|
Now, pray for a steady gentle rain!
Further reading material: |
|
|