|
|
|
|
|
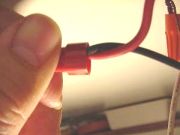
Step 5: If your new fixture uses a strap to hold it in place, now is the time to put it up. Using the wire nuts, connect the wires from the new fixture to the wires from the box. Make sure that you connect the bare ground wire as well. Put the wire nuts back on. Make SURE that when you put the wire nuts back on they cover all of the exposed wire. If the do not, take the nut back off and trim the exposed wire. |
|
|
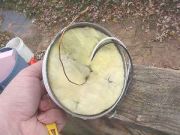
Step 6: Push the wires back up into the box and hang the fixture. If the fixture uses the two screws, attach the two screws first and push the fixture up so that the screws go through the insulation. |
|
|
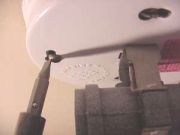
Step 7: Then insert heads through the large end of the slots. Twist it slightly to hang it. If necessary, tighten the screws. |
|
|
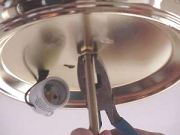
Step 8: If your fixture uses a threaded rod, slide the fixture up and use the included nut(s) to mount the fixture. |
|
|
Step 9: Install the light bulbs. Make sure that you use the correct bulbs. Check the package or the base of the fixture. Flip the switch to make sure the light works. Affix the shade. If you are using the threaded rod, you may need adjustment the rod to make the shade hangs in the right place. |
|
|
|
|
|
|
|
|
|
Related articles
|
||||