|
|
|
Changing Lighting Fixtures |
|
Changing style or room use sometimes dictates changing light fixtures. This article will show you how to do it. It is very easy but you must remember to shut off the electricity. |
 |
|
Items needed:
Screwdriver
Electrical tape (optional) Pliers (depends) Circuit tester |
Safety Suggestions and Tips
Turn off electricity
Use caution on ladder |
Level of difficulty
 Time Required: 1 hour
|
|
|
|
Steps |
|
|
|
|
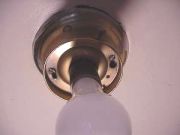
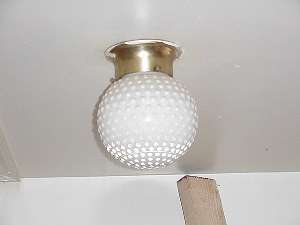
Step 1: Remove the shade from the light. These are usually made from glass or plastic. Remove the light bulbs. Examine the base of the fixture to determine how the fixture is held in place. The first method employs two screws that screw into the junction box. |
|
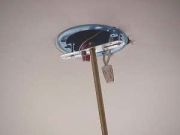
Step 2: The second method uses a threaded rod that screws into a strap that is held onto the box by screws. The rod will normally have a nut on it that holds the fixture. Remove the hardware that holds the fixture and ease it down. |
|
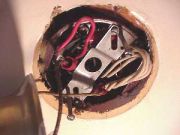
Step 3: Remove (and save) the wire nuts that connect the wires from the fixture to the wires from the box. Avoid touching the wires while removing the nuts. |
|
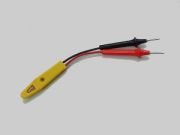
Step 4: Using a circuit tester, test the wires to make sure that they are not live. If they are, go find the right breaker to shut off the power. Take the wires from the light loose. |
|
|
|
|
|
|
|
Related articles
|
||||