|
|
|
Installing a Light Kit on a Ceiling Fan |
|
What is better than a ceiling fan? A ceiling fan with lights on it. These lights are generally in a good place and are convenient to use. The installation is pretty straightforward and easy to do. The biggest problem seems to be that you could really use about 3 or 4 hands. Having someone else around is a great idea. |
 |
|
Items needed:
Light kit for your fan
Stepladder Screwdriver Multi-meter Wire nuts |
Safety Suggestions and Tips
Be sure that power is off!
Use caution when climbing a ladder Calculate circuit load Balance fan blades with weights |
Level of difficulty
 Time Required: 2 hours
|
|
|
|
Steps |
|
|
|
|
Step 1: Cut the power to the fan at the breaker box. If the breakers are unlabeled, turn the fan on and throw breakers until the fan stops. |
|
|
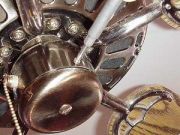
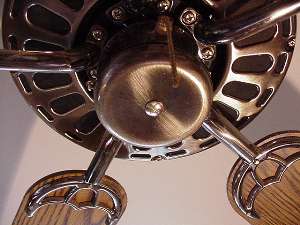
Step 2: There should be a plate on the bottom of the fan. Remove the plate. There is usually a screw on either side of the little pod hanging down. |
|
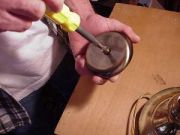
Step 3: Examine the plate you removed. There is normally a screw or some sort of plug in the middle of the plate. Remove the screw, exposing the threaded ferrule that the wires will run through. |
|
|
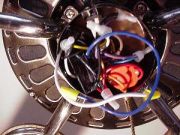
Step 4: Examine the exposed wires in the fan. There should be one blue and one white wire that are not connected to anything. |
|
|
|
|
Related articles
|
||||