Installing a Light Kit on a Ceiling Fan |
|
What is better than a ceiling fan? A ceiling fan with lights on it. These lights are generally in a good place and are convenient to use. The installation is pretty straightforward and easy to do. The biggest problem seems to be that you could really use about 3 or 4 hands. Having someone else around is a great idea. |
 |
|
Items needed:
Light kit for your fan
Stepladder Screwdriver Multi-meter Wire nuts |
Safety Suggestions and Tips
Be sure that power is off!
Use caution when climbing a ladder Calculate circuit load Balance fan blades with weights |
Level of difficulty
 Time Required: 2 hours
|
|
|
|
Steps |
|
|
|
|
Step 1: Cut the power to the fan at the breaker box. If the breakers are unlabeled, turn the fan on and throw breakers until the fan stops. |
|
|
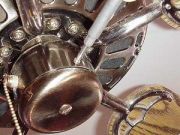
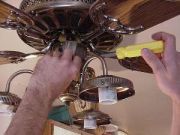
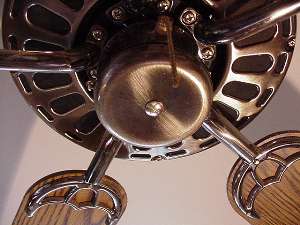
Step 2: There should be a plate on the bottom of the fan. Remove the plate. There is usually a screw on either side of the little pod hanging down. |
|
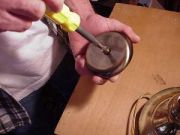
Step 3: Examine the plate you removed. There is normally a screw or some sort of plug in the middle of the plate. Remove the screw, exposing the threaded ferrule that the wires will run through. |
|
|
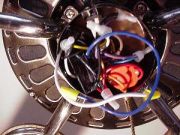
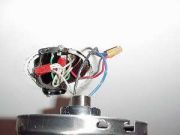
Step 4: Examine the exposed wires in the fan. There should be one blue and one white wire that are not connected to anything. |
|
|
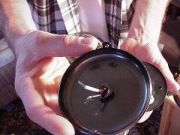
Step 5: Attach the light kit to the plate you removed from the fan. Normally you attach the light kit to the threaded ferrule. Run the wires through the threaded ferrule. |
|
|
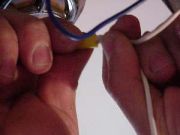
Step 6: Hold the light kit up to the fan. Using small wire nuts, attach the wires from the light to the wires in the fan. Blue to blue, white to white. Push the wire nuts up into the fan. |
|
|
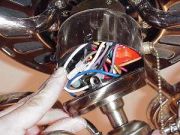
Step 7: Push the light kit up into the fan, lining the screw holes up. Insert and tighten the screws to hold the light kit up. |
|
|
Step 8: Turn the breaker back on and test the light. If it works, you are done. If not, go to step 9. |
|
|
|
|
Step 9: It is a good idea to have another person help for this step. Turn the breaker back off. Get on a step ladder and, with the other person supporting the weight of the fan, remove the base of the fan from the ceiling. Ease the fan down several inches. There is likely a blue wire up there that is not hooked to the black wire coming from the box. Put this wire into the black pigtail and put the fan back into place. |