|
|
|
Repairing Nail Pops |
|
Nail pops are an annoying reality if your walls and/or ceilings are drywall. They are normally caused by seasonal wood movement but can also result from someone running into a wall or a nail slipping. It's one of the better reasons to use screws. Fixing the problem is easy: |
 |
|
Items needed:
Drywall nails or screws |
Safety Suggestions and Tips
Wear safety glasses
|
Level of difficulty
 Time Required: 1 hour
|
|
|
|
Steps |
|
|
|
|
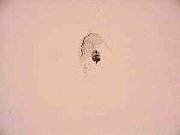
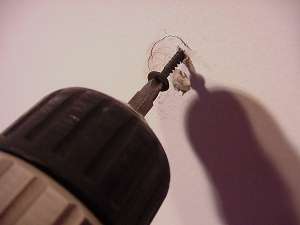
Step 1: Use a hammer to drive the nail back below the surface. You should leave a small circular dent in the drywall. Make sure you don't pulverize the drywall in the process. |
|
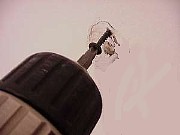
Step 2:
Now you need to re-secure the drywall to the studs. There are two methods: A. (recommended) Place a drywall screw next to the existing nail and screw it in. The head of the screw should be just below the surface of the drywall. B. Place the point of another drywall nail right next to the head of the existing nail. Drive it down into the circular depression you created in step one. |
|
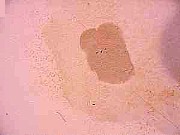
Step 3:
Using some joint compound and a 4" - 6" knife, fill the hole. Work the mud until it is smooth and flush with the surrounding wall. Inspect the joint compound after it has dried, usually the next day. If needed, lightly sand and apply more compound. |
|
Step 4: After the patch is dry, you should paint it. You can spot-prime it if you like but if the repair is small enough, this may not be necessary. Be careful how much you paint. If the repair is in a high-traffic area, you may wind up painting the entire wall. |
|
|
|
|
Related articles
|
||||