|
|
|
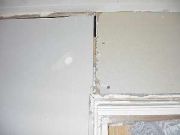
Drywall Joints |
|
The joint between two pieces of drywall is key to a new installation. Practice is the key. If you can, you might want to experiment on two pieces before you take on a real wall. As with other drywall procedures, multiple thin coats are the key. This process can be used on factory (beveled) edges or butt joints. Some professionals like to bevel butt joints with a razor (utility) knife. It is up to you. |
 |
|
Items needed:
Drywall
Joint Compound (mud) Tape knife Drywall Joint Tape Sand paper Ladder (if required) |
Safety Suggestions and Tips
Drywall compound is sometimes referred to as "mud"
Do not let mud freeze Clean all tools immediately after use |
Level of difficulty
 Time Required: 4 hour
|
|
|
|
Steps |
|
|
|
|
Step 1: Start by securing the drywall in place. If you are repairing a hole, see the drywall repair how-to. If you have had some sort of damage to the joint, see the how-to on repairing joints. |
|
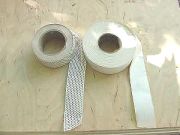
Step 2: If using self-adhesive tape, take the backing off and apply the tape over the joint. When using regular tape, put down a thin bed of mud. |
|
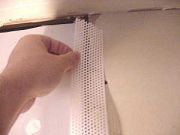
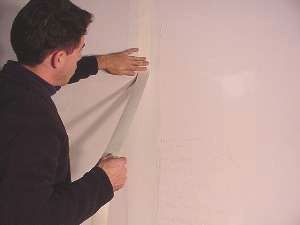
Step 3: Start applying self-adhesive tape in corner or at edge. |
|
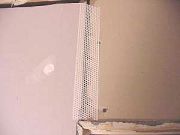
Step 4: Press the tape down firmly on both surfaces. |
|
|
|
|
|
|
|
Related articles
|
||||