Drywall Joints |
|
The joint between two pieces of drywall is key to a new installation. Practice is the key. If you can, you might want to experiment on two pieces before you take on a real wall. As with other drywall procedures, multiple thin coats are the key. This process can be used on factory (beveled) edges or butt joints. Some professionals like to bevel butt joints with a razor (utility) knife. It is up to you. |
 |
|
Items needed:
Drywall
Joint Compound (mud) Tape knife Drywall Joint Tape Sand paper Ladder (if required) |
Safety Suggestions and Tips
Drywall compound is sometimes referred to as "mud"
Do not let mud freeze Clean all tools immediately after use |
Level of difficulty
 Time Required: 4 hour
|
|
|
|
Steps |
|
|
|
|
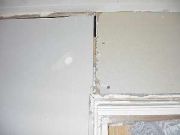
Step 1: Start by securing the drywall in place. If you are repairing a hole, see the drywall repair how-to. If you have had some sort of damage to the joint, see the how-to on repairing joints. |
|
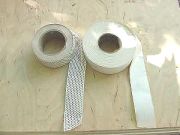
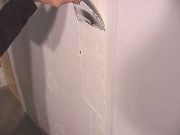
Step 2: If using self-adhesive tape, take the backing off and apply the tape over the joint. When using regular tape, put down a thin bed of mud. |
|
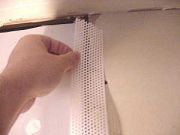
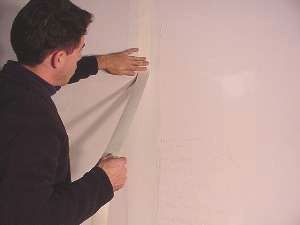
Step 3: Start applying self-adhesive tape in corner or at edge. |
|
Step 4: Press the tape down firmly on both surfaces. |
|
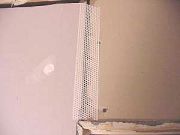
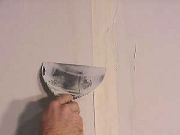
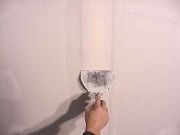
Step 5: Using a 6" tape knife, force the tape into the mud. |
|
Step 6: Using your knife, work the tape from the middle out. Make sure that you keep your knife clean by scraping it on the pan |
|
|
Step 7: The next step (while the compound is still wet) for either method is to put a thin coat of mud over top of the tape. Use just enough mud to cover the tape, the tape should be visible through the mud. Let the mud dry overnight. |
|
|
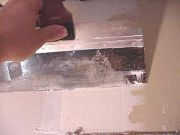
Step 8: After the joint compound has dried, sand any irregularities from the joint. Make sure that you do not sand into the paper. |
|
|
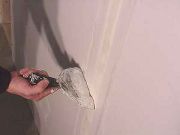
Step 9: Re-coat the joint with compound. Use a 8" or bigger knife. The goal is to "feather" the joint out so that it is not noticeable. You might have to re-coat a few times. It is important not to get the middle of the joint too high or it will show up after the wall has been painted. |
|
|