|
|
|
|
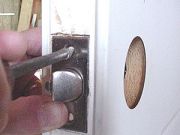
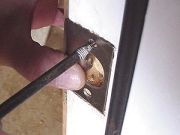
Step 5: Using a screw starter or drill with pilot bit, drill the door end for the latch screws. |
|
|
Step 6: Using the wood screws provided, screw in the latch. |
|
|
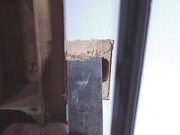
Step 7: On the door jamb, align the latch. Be very careful as the mortise done in the factory is not always correct. |
|
|
Step 8: On our door, we found that the factory mortise was approximately 5/16" too high and the catch had to be lowered and the extra wood mortised away. |
|
|
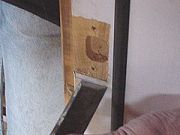
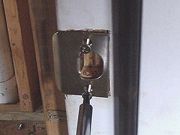
Step 9: Using a screw starter or drill, make holes for the screw. An inexpensive doorset does not provide very long screws. You may want to enlarge the countersink in the latch for a longer and heavier screw. |
|
|
Step 10: Screw in the latch. Check to see that the latch is sufficiently recessed first by test closing the door. Also, recheck alignment of the catch and latch. |
|
|
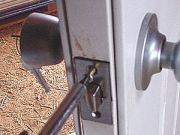
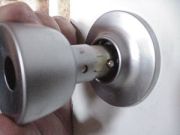
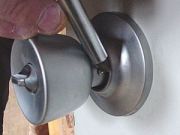
Step 11: Tighten the cover plate screw all the way now. Slide on the handle and cover plate. |
|
|
Step 12: On this handle, there is a spring loaded button which must be depressed to get the handle on all the way. |
|
|
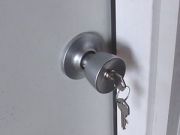
Step 13: Now would be a good time to add a few drops of graphite or lock oil into the key slot. |
|
|
|
|
|
|
|
Related articles
|
||||