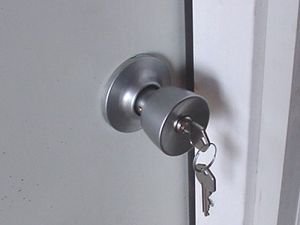
Installing a Door Lockset |
|
Installing a lockset on a new door is requires a minimal amount of skill and tools, especially if the door is pre-drilled. If you order a custom door, it's best to have the manufacturer pre-drill the door. In this article we show you the steps involved to the lockset installation. |
 |
|
Items needed:
Lockset
Screw driver Sharp chisel (1/2 and 1 inch) Screw starter |
Safety Suggestions and Tips
Use a sharp chisel removing a small amount of wood at a time.
Check the latch positioning as the manufacturers are not always accurate. |
Level of difficulty
 Time Required: 1 hours
|
|
|
|
Steps |
|
|
|
|
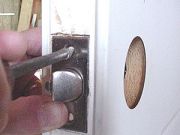
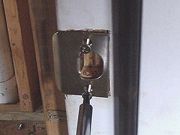
Step 1: Slide the latch assembly into the door and mark around the edge. The manufacturers typically machine route for this, but the corners are rounded. Also, the depth is often too shallow. Using a sharp 1-inch chisel and clear away excess wood. |
|
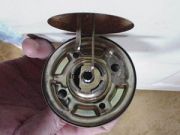
Step 2: Adjust the latch assembly. This unit adjust for 60 or 70 mm distances between the center of the door handle and the edge of the door. |
|
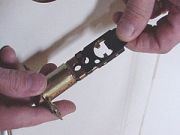
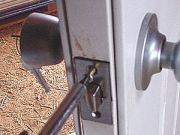
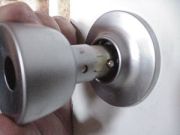
Step 3: Slide the handle (section with protruding catch parts) into the door, aligning the internal parts to engage. |
|
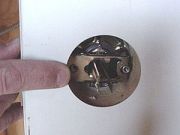
Step 4: Place cover plate and align the holes. Install the screws, but do not tighten completely. |
|
Step 5: Using a screw starter or drill with pilot bit, drill the door end for the latch screws. |
|
|
Step 6: Using the wood screws provided, screw in the latch. |
|
|
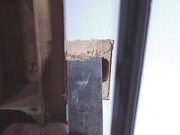
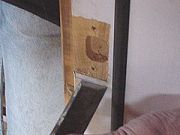
Step 7: On the door jamb, align the latch. Be very careful as the mortise done in the factory is not always correct. |
|
|
Step 8: On our door, we found that the factory mortise was approximately 5/16" too high and the catch had to be lowered and the extra wood mortised away. |
|
|
Step 9: Using a screw starter or drill, make holes for the screw. An inexpensive doorset does not provide very long screws. You may want to enlarge the countersink in the latch for a longer and heavier screw. |
|
|
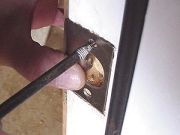
Step 10: Screw in the latch. Check to see that the latch is sufficiently recessed first by test closing the door. Also, recheck alignment of the catch and latch. |
|
|
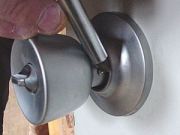
Step 11: Tighten the cover plate screw all the way now. Slide on the handle and cover plate. |
|
|
Step 12: On this handle, there is a spring loaded button which must be depressed to get the handle on all the way. |
|
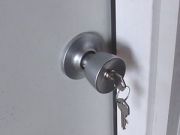
|
Step 13: Now would be a good time to add a few drops of graphite or lock oil into the key slot. |