Home Automation |
|
Being able to start the coffee pot while still in bed is no longer part of the "Jetsons". Many pots come with a built in timer. However, what about turning the front porch light on before you get home or turning lights on when someone enters a room? That is what Home Automation is all about. There are many different solutions available from the mundane to exotic. Exotic, of course, generally means expensive. The system that we chose is made by X-10 and has been around for about 20 years. It is flexible, affordable and easy to setup even when using many components. |
 |
|
Items needed:
Computer
Internet Connection Batteries |
Safety Suggestions and Tips
Some X-10 components (wall switches) require working with
electrical wiring. Please follow all directions and work safely.
|
Level of difficulty
 Time Required: 1 hour
|
|
|
|
Steps |
|
|
|
|
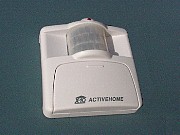
Step 1: The first step when setting up an X-10 system is to plug the transceiver into the wall. The transceiver is easily identifiable by the antenna attached to the side of the case. Site this module in a central location where it is unlikely to be damaged. |
|
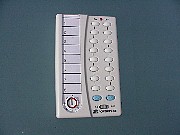
Step 2: Next, place batteries in the "Palm Pad" and pull out the small strip of paper so that you may label the appliances that you hook to the X-10 system. |
|
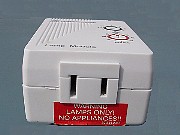
Step 3: Plug a lamp (or other low-amperage or wattage appliance) into the "Lamp Module" and plug the module into the wall. Turn the switch to the on position. |
|
Step 4: Note the address on the front of the lamp module. All X-10 devices have an address. They will all share a common "House Code" but the "Unit Number" is unique. In order to change the address, insert a small screwdriver into the slot and gently turn. . |
|
|
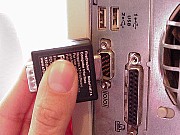
Step 5: At this point, the X-10 system is ready to use. If you push the On or Off button on the Palm Pad next to the number of the appliance you just connected it should turn on and off! In order to achieve more complicated tasks, you need to connect the computer interface. It is a small black box that plugs into the serial port on your machine. |
|
|
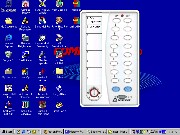
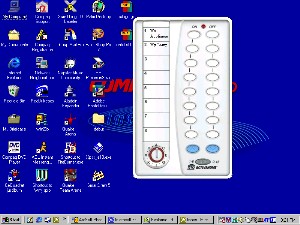
Step 6: Once the interface is attached to the computer, download the software from X-10.com and install it. The basic (free) software will allow you to control all of your devices from your desktop. The more sophisticated software (not free) will allow you to write macros and setup timers to turn lights on and off at preset times. |
|
|
Step 7: Infrared sensors may also be worked into the system. These may be configured to turn lights on when entering a room or to activate a remote chime when someone is at the door. |