|
|
|
Installing interior window trim |
|
Is your interior window trim dinged-up, damaged or missing? This How-To will show you how to install window trim in a room that is otherwise finished like a pro and tell you what items you need. |
 |
|
Items needed:
Miter box
Back Saw 150 grit sandpaper Paint brush Paint/Primer Nail set Finishing nails Hammer |
Safety Suggestions and Tips
Measure very carefully
Use eye protection Wear gloves when cutting |
Level of difficulty
 Time Required: 2 hours
|
|
|
|
Steps |
|
|
|
|
Step 1: Inspect the area around the window. Is there other damage that needs to be repaired? If not, keep reading. If so, stop and effect the repair now. It will be much easier going later. Obtain the molding you prefer and any of the items listed to the left that you do not have from your local hardware store. They will be able to help you find the things you need. |
|
|
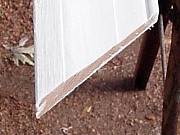
Step 2: Measure from the window sill to the top of the inside opening of the window. Transfer the dimension to the molding and cut it at a 45 degree angle. The inside part of the molding needs to be at the "short" end of the cut. Repeat the process for the molding on the other side. Cut the top molding to the approximate dimension necessary for the top. Make sure to leave a little extra. |
|
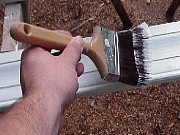
Step 3: It is a good idea to lightly sand the molding before priming. After the molding has been sanded you need to "prime" the molding. Make sure your primer is compatible with the paint you intend to use. Let the primer dry and then coat it again. |
|
|
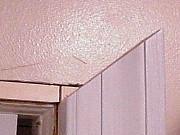
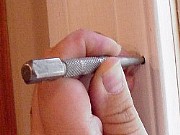
Step 4: Put the molding on the window frame and, using the smaller finishing nails, first nail the trim to the window casing. The next step is to use the longer nails to nail the outside of the molding to the wall. Nail the other side and then "set" the nails. Put the nail set on top of the nails and drive them down so they are below the surface of the wood. |
|
|
|
|
|
|
|
Related articles
|
||||