Applying Varnish |
|
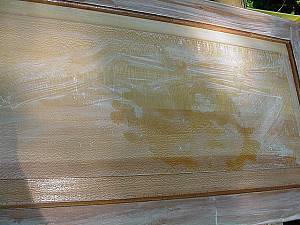
Varnish is one of the more durable interior finishes available. It was very popular in days past and is still favored for places where durability and beauty are valued. Unfortunately, it can also be one of the more difficult finishes to properly finish. Varnish is applied in coats. Some furniture can take as many as 5 coats of varnish. Generally, you want to apply at least 3 coats. The items in the pictures are kitchen cabinet doors that will receive 5 coats. Two notes: 1: Use varnish in a well-ventilated area - no kidding. This stuff smells worse than almost any other finish. 2: The temperature should be above 70deg. (F) when you apply varnish otherwise it won't flow out right. |
 |
|
Items needed:
Varnish
Assortment of sandpaper Several disposable buckets High quality brushes |
Safety Suggestions and Tips
Use good brushes
Use varnish in a well-ventilated area Do NOT rush this job |
Level of difficulty
 Time Required: Hours
|
|
|
|
Steps |
|
|
|
|
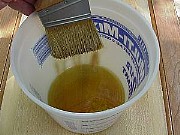
Step 1: Make sure that the surface to be finished is ready and clear of debris (you will need an assortment of sandpaper for this job). Cut (dilute) the varnish for the first "spit" coat by 50% (one part varnish to one part solvent). The solvent for varnish is normally mineral spirits. Subsequent coats may normally be applied full-strength. |
|
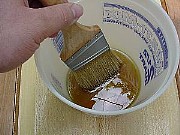
Step 2: Use a high-quality brush (important). Dip the brush into your bucket and lightly "pat" it against the side to remove excess. Do not wipe it on the rim, this may introduce air bubbles into the varnish. |
|
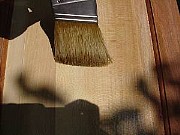
Step 3: Carefully brush the varnish onto the piece. Start in the middle and brush "off" the ends. Don't simply stop at the end. Varnish builds quickly and will build humps in the finish if you give it a chance. |
|
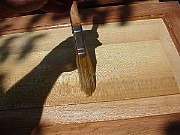
Step 4: Let the varnish sit for a few minutes and the "tip-off" the finish by holding the brush perpendicular to the surface and lightly sweeping it across the area. |
|
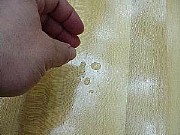
Step 5: Let the finish dry thoroughly. Usually 24-36 hours. Make sure that they varnish is not exposed to dust and other impurities while drying. Dry sand the first coat using 150 grit paper. Make sure the paper doesn't become clogged. If the paper does become clogged, use another piece. If you continue with a clogged piece it will ruin the finish. Remove all of the gloss from the finish. Look out for shiny spots. When you are done, the entire surface should look uniformly dull. Wipe off all dust. |
|
|
Step 6: Recoat the piece with full-strength varnish. Make sure that you do not miss any spots or the final finish may not be level. Let dry a day or two. |
|
|
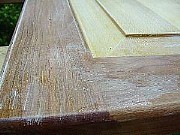
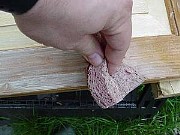
Step 7: Using wet-dry 400 grit sandpaper, wet sand the varnish. (Note: paraffin oil may also be used to slow down the process) Sprinkle some water on the surface, spread it around and begin sanding. Check the paper for buildup often, clean with water if buildup seems to be occurring. Sand in long strokes with the grain. Be careful not to sand through the finish. This is especially important around the edges. Reduce the sheen of the finish evenly. There shouldn't be any bright spots. |
|
|
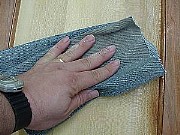
Step 8: A haze will begin to form on the piece as the water dries. Use a damp sponge to wipe off the slurry and then a rag to dry the piece off. |
|
|
Step 9: Repeat as in step 5 until you reach your final coat. For this coat you can either leave the final coat as-is or sand it. If you want to sand, you will need to use 600 grit paper and paraffin oil. Put a bit of oil in your hand and wipe it onto the surface. Sand down any dust nibs and be careful not to sand through the finish. Use mineral spirits to clean up the oil and then wax the surface. If you want a higher gloss, you need to "rub out" the finish but that's a whole different article. |