|
|
|
Replacing a Torn Shingle |
|
Unless you have installed some high quality shingles, you may find that the wind will blow and possibly tear off the edge shingles. This is often caused by the shingles not properly sealing. If you live in an area that regularly experiences high winds, you might want to try architectural shingles which can handle winds up to 110 MPH. |
 |
|
Items needed:
Roof cement
Utility knife Roofing nails Hammer |
Safety Suggestions and Tips
Be careful when working on the roof. Use safety equipment
when necessary.
|
Level of difficulty
 Time Required: 1 hour
|
|
|
|
Steps |
|
|
|
|
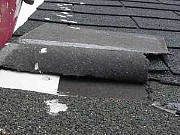
Step 1: The first step is to assess the damage to the shingle. You should do this in warm weather to avoid shingle breakage. |
|
Step 2: You will need to remove the broken section by pulling the nail. Lift the intact tabs, being careful not to damage any intact shingles. If you have serious problems and need to be aggressive, there are special tools to remove the entire roof section. |
|
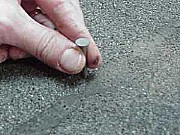
Step 3: With the old shingle fragments removed, measure for a the replacement shingle. You can cut the shingle to size by scoring it with a utility knife. Using a roofing nail, fix the shingles by nailing above the tab cut (typically there are 3 nails per full shingle). The nail should be covered when you lay the flap down again. Avoid nailing within 2" of the edge of the shingle. |
|
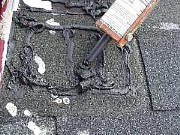
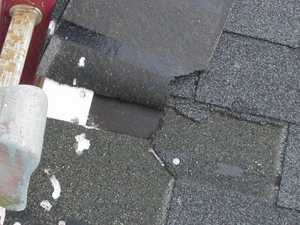
Step 4: You will need to seal both on top and below of the replacement shingle. I suggest using a caulking gun and tube of roof cement. Be sure to cover the entire area which will be covered by the tab. |
|
|
|
|
|
|
|
Related articles
|
||||