Replacing Toilet Works |
|
If your toilet runs on or just does not work well, it may be time to replace all of the works. This job is a bit unpleasant but easy to accomplish. The kit pictured in this how to is made by Fluid Master, if you need to buy the entire rebuild kit, click here. |
 |
|
Items needed:
Adjustable Wrench |
Safety Suggestions and Tips
Be sure water is off
Wash your hands thoroughly after you are completed. This is a dirty job. |
Level of difficulty
 Time Required: 2 hours
|
|
|
|
Steps |
|
|
|
|
Step 1: Drain the toilet by turning off the water supply valve to the toilet and flushing the toilet. Hold the handle down to allow as much water as possible to drain out. Sponge up whatever remains. |
|
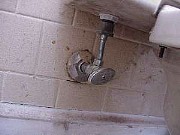
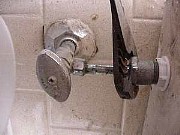
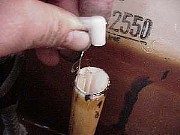
Step 2: Put a bucket or pan under the water supply valve. Remove the water supply line from the toilet and, if necessary from the water supply valve. Remove the nut from the bottom of the valve. There are many types of tubing used to connect the water supply to the toilet so save the old connector. |
|
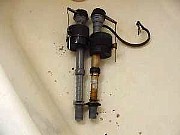
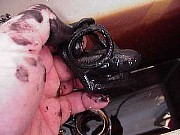
Step 3: Remove the fill tube from the overflow pipe and from the valve. Remove the valve from the tank. |
|
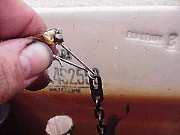
Step 4: Remove the chain from the handle. Remove the flapper from the ears on the overflow tube. Be careful as the rubber has usually deteriorated and will leave black stuff on your hands (and whatever else it comes into contact with). |
|
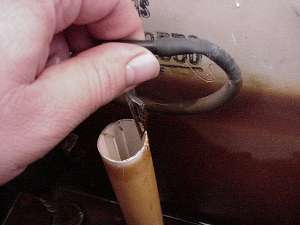
Step 5: Set the new valve to the same height as the old valve. Install the new valve in the hole the old one came out of. Make sure there is a gasket installed on the bottom of the valve before you put it in place. Use the provided nut to attach the valve where the threaded end of the valve comes through the tank. |
|
|
Step 6: Attach the new fill tube to the nipple on the valve and the angled adapter (You may have to trim it to prevent the tube from kinking). Clip the angle adapter to the overflow tube. |
|
|
Step 7: Attach the new flapper to the bottom of the overflow tube. Most flappers either clip onto the ears on the tube or they have flexible holes that slip over the ears. If there are no ears on the overflow tube, there is normally an adapter included in the kit. |
|
|
Step 8: Attach the chain from the flapper to the handle. Adjust the chain so that there is some slack in the chain. |
|
|
Step 9: If the water fills the tank to where the water runs into the overflow tube, adjust the float down so that the valve shuts off sooner. If this adjustment will not cut it, you might have to remove the valve and make it taller. Make sure that you clean up afterwards, it is a nasty job. |