|
|
|
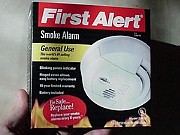
Installing a Smoke Detector |
|
When is the last time you checked on your smoke detector? If it been a few years, you might want to consider replacing the entire unit rather than trying to clean it. If you are unsure whether you have enough units or that they are in the right place, you might see First Alert for additional information. |
 |
|
Items needed:
Screw driver
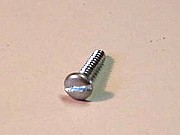
Drill Drill Bits 3/16 inch Plastic screw anchor (comes with detector) Pan head screw (comes with detector) |
Safety Suggestions and Tips
You will normally need a ladder to mount the detector, be careful
to setup and use the ladder correctly.
Follow directions on package for mounting location |
Level of difficulty
 Time Required: 30 minutes
|
|
|
|
Steps |
|
|
|
|
Step 1: Before you simply replace the unit, check on the current locations where you have detectors. A good source of information can be found at the First Alert web site. Think of the value of your home and contents, you might want to pay for a quality unit. |
|
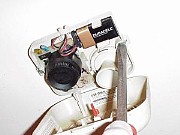
Step 2: As you start to remove the old unit, open the hinged cover to expose the screws. Loosen the screws and hopefully the holes will line up with the new unit. If not, you need a new hole. |
|
Step 3: The screw anchors need a hole to be drilled first. Do not try to hammer the plastic anchor into the drywall as you will only damage it. Typically a 3/16 inch bit will be required and the anchor can be inserted. Tighten the screw to within 1/8 inch. The previous unit may have been only installed without proper anchors. Don't skip the anchors, I've had two units come down in the night trying to use just a pan head screw. |
|
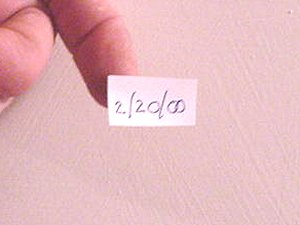
Step 4: Don't forget to install the battery and test it. It is good idea to add a date label when you install the new unit. This way you'll know if it has been 5 or even 10 years since you or the former owner replaced the unit. |
|
|
|
|
|
|
|
Related articles
|
||||