|
|
|
Installing a Remodeling Box |
|
From time to time you will have to install a junction box or hang a light where there is no stud available. Fortunately, there is a solution. The "remodel", "plaster" or "drywall" box. This box requires no stud to install. If you are hanging a light from one of these, make sure it isn't a 50 pound chandelier! In addition, make sure that you check local codes for requirements. |
 |
|
Items needed:
Remodel box |
Safety Suggestions and Tips
Be careful if using a ladder.
Be careful that the wires you are working with are not live! |
Level of difficulty
 Time Required: 1 hour
|
|
|
|
Steps |
|
|
|
|
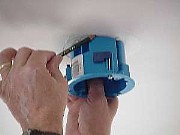
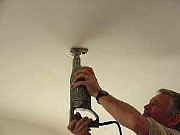
Step 1: Locate the where you want the box to be. Put the box up to the ceiling (or wall) and mark around it. Using either a keyhole saw or a reciprocating saw, cut the hole to the necessary size. Make sure that the hole is the right size by pushing the box into it. Adjust as required. |
|
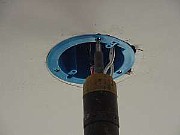
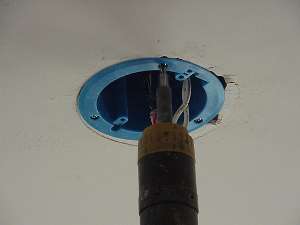
Step 2: Fish the cable to the hole where you want the box to be. If you need help running cable, see our branch circuit project. Push the bottom of the tabs on the back of the box downward, into the box. These tabs prevent the wire from pulling out of the box. Route the wire(s) (still in the sheathing) through the hole(s). |
|
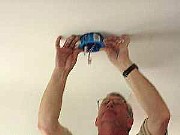
Step 3: Push the box through the hole until the flange on the bottom is flush with the surface. Tighten the screws until the tabs on the screws pull against the drywall or plaster (you can't see them, you'll have to do it by feel). Don't over tighten them. |
|
Step 4: Install switch or make your junction as you would with any other box. |
|
|
|
|
Related articles
|
||||