|
|
|
Installing a Dimmer Switch |
|
Installing a dimmer switch allows you to set the right level of lighting for a room. Most dimmer switches only work with standard incandescent lights so read the package. |
 |
|
Items needed:
Dimmer Switch
Screwdriver Wire Nuts Electrical tape (optional) Electrical tester Wire cutters (optional) |
Safety Suggestions and Tips
Turn off power
Do not nick wires with knife Make sure wire nut completely covers wires |
Level of difficulty
 Time Required: 1 hour
|
|
|
|
Steps |
|
|
|
|
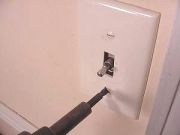
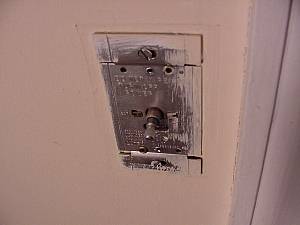
Step 1: Cut the power to the light that the switch you are replacing controls. This is normally done at the "breaker box." Turn the light on and then throw the breaker that controls the light. The light should go off. If not, throw other breakers until it does. Remove the face plate from the switch. The plate is normally held on with two small screws. |
|
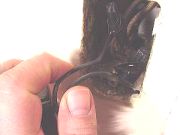
Step 2: Next remove the switch from the box. Carefully remove the screws at the top and bottom. Pull the switch from the box by holding the top and bottom of the switch. When the switch is clear of the box, test the wires for current. |
|
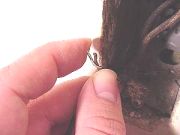
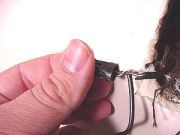
Step 3: Remove the wires from the old switch and twist them onto the existing wires (Dimmer switches almost always have wires coming from them). |
|
Step 4: You will need two small wire nuts to finish attaching the existing wires to the switch. Make sure that there is no exposed wire below the wire nut. Fold the wires down and gently push the switch back into the box. Screw the switch into place and turn the breaker back on. Test the switch and replace the faceplate. |
|
Related articles
|
||||