Clean and Refill Water Softener |
|
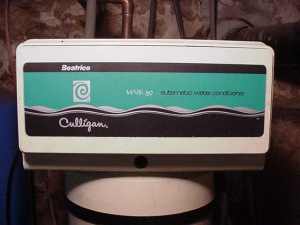
The salt storage tank of your water softener needs to be cleaned out from time to time. The salt storage tank will accumulate debris and may even develop a salt bridge, making the unit ineffective. No brine, no softening! Cleaning the tank is a serviceable item for which you do not need to "Call the Culligan Man". |
 |
|
Items needed:
Screw driver
Garden hose Scoop Clean bucket Household scrub brush Sponge |
Safety Suggestions and Tips
Unplug unit
Avoid spilling salt pellets Do not inhale salt dust Carry two buckets at a time for balance |
Level of difficulty
 Time Required: 1 hour
|
|
|
|
Steps |
|
|
|
|
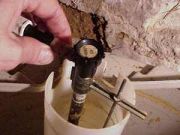
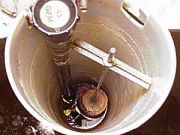
Step 1: Disconnect the power to the unit, although it should be set only to run during the early morning hours. Remove the salt tank cover and look inside. You want to carefully lift the brine valve out of the smaller 4" chamber and set this aside. |
|
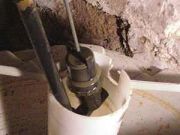
Step 2: There are numerous parts to the valve assembly and you need to be careful with the float valve. |
|
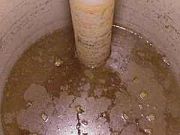
Step 3: If you want to save any dry salt, scoop this out and place this in a clean container. Now scoop out and discard as much of the remaining salt and brine. If you procrastinate like I do, there may not be any salt, just some nasty looking brine. |
|
Step 4: You will notice how cloudy the water is. This may be especially true if you use cheap salt. |
|
|
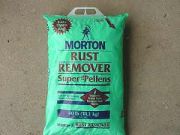
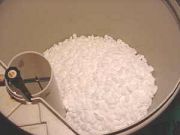
Step 5: I recommend a quality product such as the "iron" removing type of salt. |
|
|
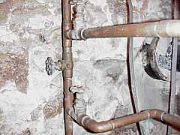
Step 6: Now, remove the brine valve chamber by removing the screws on either side of the salt tank. In the bottom of the tank is the salt plate that needs to be removed also. Things get trapped beneath it. I recommend that you move the tank outside of the house to scrub and hose it out. Generally, you should not have to clean the brine tube connecting the storage tank and the conditioner. |
|
|
Step 7: Refill the tank with clean salt almost all the way to the top of the tank. This may take from 6-8 bags of salt depending on the size of your storage tank.Use a quality product, such as Morton. Fill the tank with 4-6" of water. |
|
|
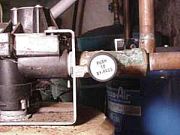
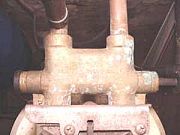
Step 8: Replace the storage tank cover. Be sure that the by-pass value is pushed in. On this unit, looking from the right you would push for by-pass. |
|
|
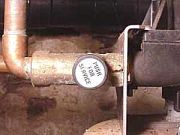
Step 9: From the left you would see to push for service |
|
|
Step 10: Looking down from above, you can see how this works. |
|
|
Step 11: There should be no need to use the manual valves. |
|
|
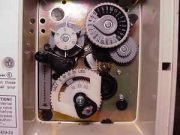
Step 12: While you're there and having the occasional power outage, you probably need to reset the clock, by removing the cover and rotating the dial to the correct time. |
|
|