Filling Cracks Around the Chimney Seal |
|
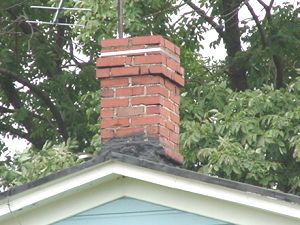
Old houses often develop cracks between the chimney and the roof. In this article, the cracks between the chimney and a metal roof are sealed using roof cement. This is a perpetual maintenance issue and should be checked every few years. |
 |
|
Items needed:
Roof cement (preferably
in a tube, not can) Trowel or spatula Extension ladder |
Safety Suggestions and Tips
Place board beneath caulk tub or can
Use caution on ladder Keep a clean up rag handy Use a 5-gallon bucket to hoist materials up to roof |
Level of difficulty
 Time Required: 3 hour
|
|
|
|
Steps |
|
|
|
|
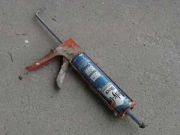
Step 1: The first step is to access the roof using an extension ladder, preferably on a warm day. If you are using roof cement, I recommend using the tube package which fits your caulking gun. |
|
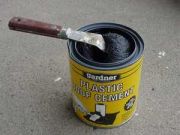
Step 2: The gun only requires one hand, whereas the roof cement in a can requires two hand, to hold the cement and a trowel. The cement in a can may be less expensive, but we would recommend against this, especially on a tin roof like this one. |
|
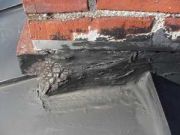
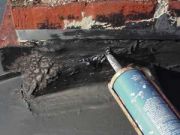
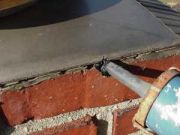
Step 3: First examine the area between the brick and the roofing, looking for small cracks. |
|
Step 4: These are caused in part by deterioration of the old cement and the different thermal expansion properties of the chimney and the roof. |
|
|
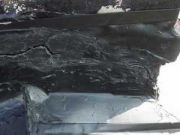
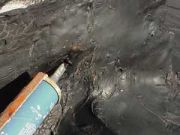
Step 5: Using the caulking gun, force ample amounts roof cement into the cracks. |
|
|
Step 6: Apply a liberal amount in all areas. |
|
|
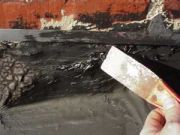
Step 7: On the vertical areas it may be necessary to smooth the excess cement using a trowel. |
|
|
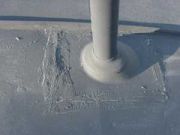
Step 8: After the chimney is sealed, look to the plumbing vents |
|
|
Step 9: Don't overlook the stack of the flue. |
|
|