Adding Cedar Siding over Exisiting Siding |
|
Adding wood siding will dramatically improve the look our your old house. Depending on the type of wood and finish you choose, you should expect to get 25 years or more of service from adding wood siding. While it takes time to get the first course started, you can cover a large are in a short period of time. |
 |
|
Items needed:
Hammer
Cedar siding Power saw 8d siding nails Level & square Chalk line |
Safety Suggestions and Tips
Observe power tool safety, eye and ear protection.
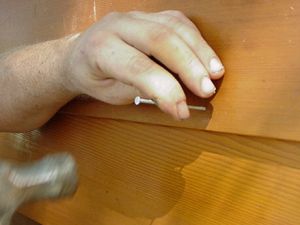
Do not nail within 1" along the direction of the grain to avoid splitting. Prefinish the siding before installing. |
Level of difficulty
 Time Required: 8 hour
|
|
|
|
Steps |
|
|
|
|
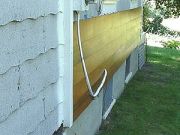
Step 1: Check and nail any loose old siding. The new siding begins with the bottom course and must be planned for the entire house. Using a line level and chalk line, snap a line around the entire perimeter around eye level Measure down to identify the variations in the edge of of the existing siding. |
|
Step 2: Select through the stock for even wood tone. Look out for splits and uneven end cuts. Mark the "bad" sections and use this for shorter pieces between windows and doors. |
|
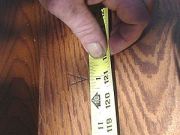
Step 3: Transfer the measurement between the the perimeter trim boards to the siding. Try to keep cuts to within 1/16" accuracy. On a warm day, the board should just fit, whereas on a cold day, undersize the siding by 1/8" allow for 1/16" expansion on each end. |
|
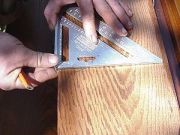
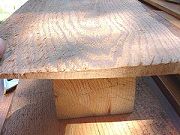
Step 4: The cedar used here is about 8" wide with a nominal 6" reveal. Most power miter boxes are not large enough so you will need to mark a cut line using a speed square. |
|
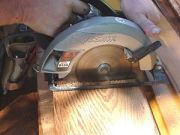
Step 5: To reduce feathering, it is advisable to cut from the backside of the board. This also allows you to cover up the pencil marks. |
|
Step 6: While pine, spruce and other siding cuts cleanly, cedar tends to feather somewhat after sawing. |
|
|
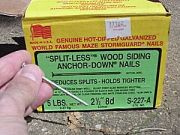
Step 7: Correct nail selection is critical to: reduce splitting, provide holding action and resist corrosion. Here, we are using 8d (2 1/2") "split-less" nails. The ring shanks help to keep the nails from pulling back out. |
|
|
Step 8: After finishing one wall, be sure to make a good corner alignment. The ends of each board should be straight and parallel. Note in this application that the bottom board on the porch was ripped first to ensure the alignment. |
|
|