Downspout Installation or Replacement
Your gutters are only as good as the downspouts which carry the rainwater down from the collection gutter to the next story down. Whether it's new a downspout or a replacement, read on to learn how to mount these and keep them in place. You only need a few simple tools for this job.
Step 1:
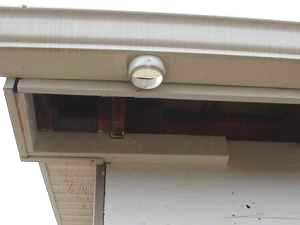
The first step is to examine the existing gutter. If you are replacing a worn or broken downspout, remove the screw at the connection with the gutter.
Step 2:
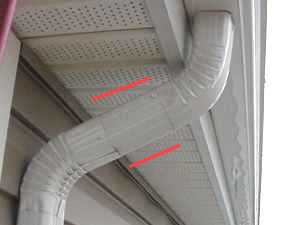
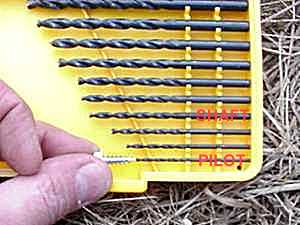
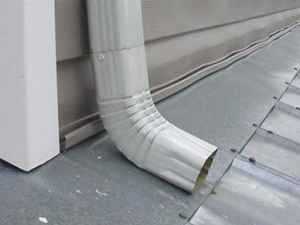
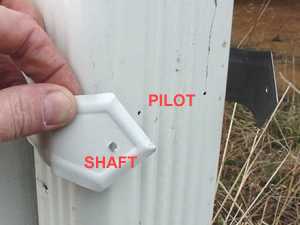
The replacement downspout will probably need two elbows. Between the elbows, a short length of downspout may also be required, depending on the distance of the roof overhang. These can be attached using small white-headed self-taping screws designed specifically for gutter applications. Be sure to select a screw the size of the pilot shaft of the screw. On the outlet end of the downspout, you may also need another elbow where the water is spread over the lower story roof, drainpipe into ground or onto a splash block on the ground.
Step 3:
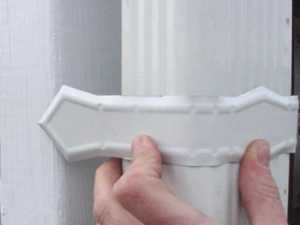
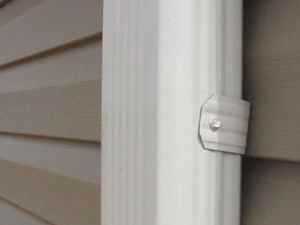
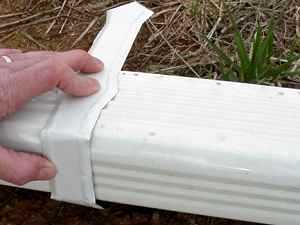
To hold the downspout in place, you will need straps or brackets. These can either be to the outside or inside. The brackets are flexible and need to be bent to match the gutter size.
Step 4:
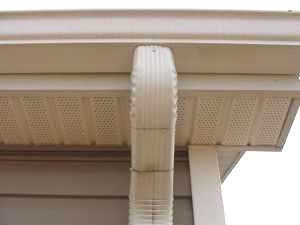
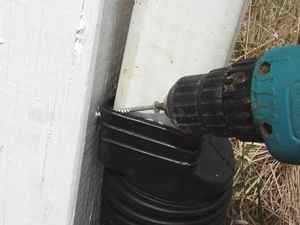
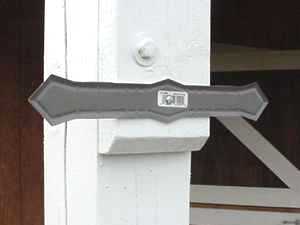
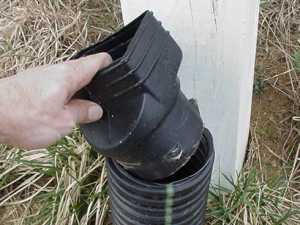
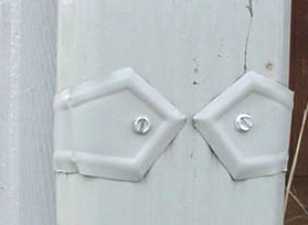
In this project, we are using outside straps as the gutters are oversized and the column is not wide enough for conventional use. On attaching to the vinyl siding, brackets are used. The strap is secured to the post using a pan head screw. A plastic coupler is added to the drainpipe.
Step 5:
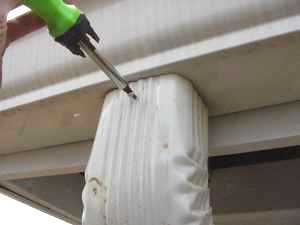
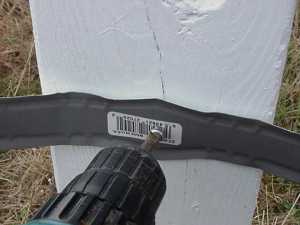
Two holes are required in the strap and the downspout. Drill a larger (shaft) hole in the strap and a smaller pilot hole in the downspout. Attached the strap using self-taping screws.